Rotisserie Chicken
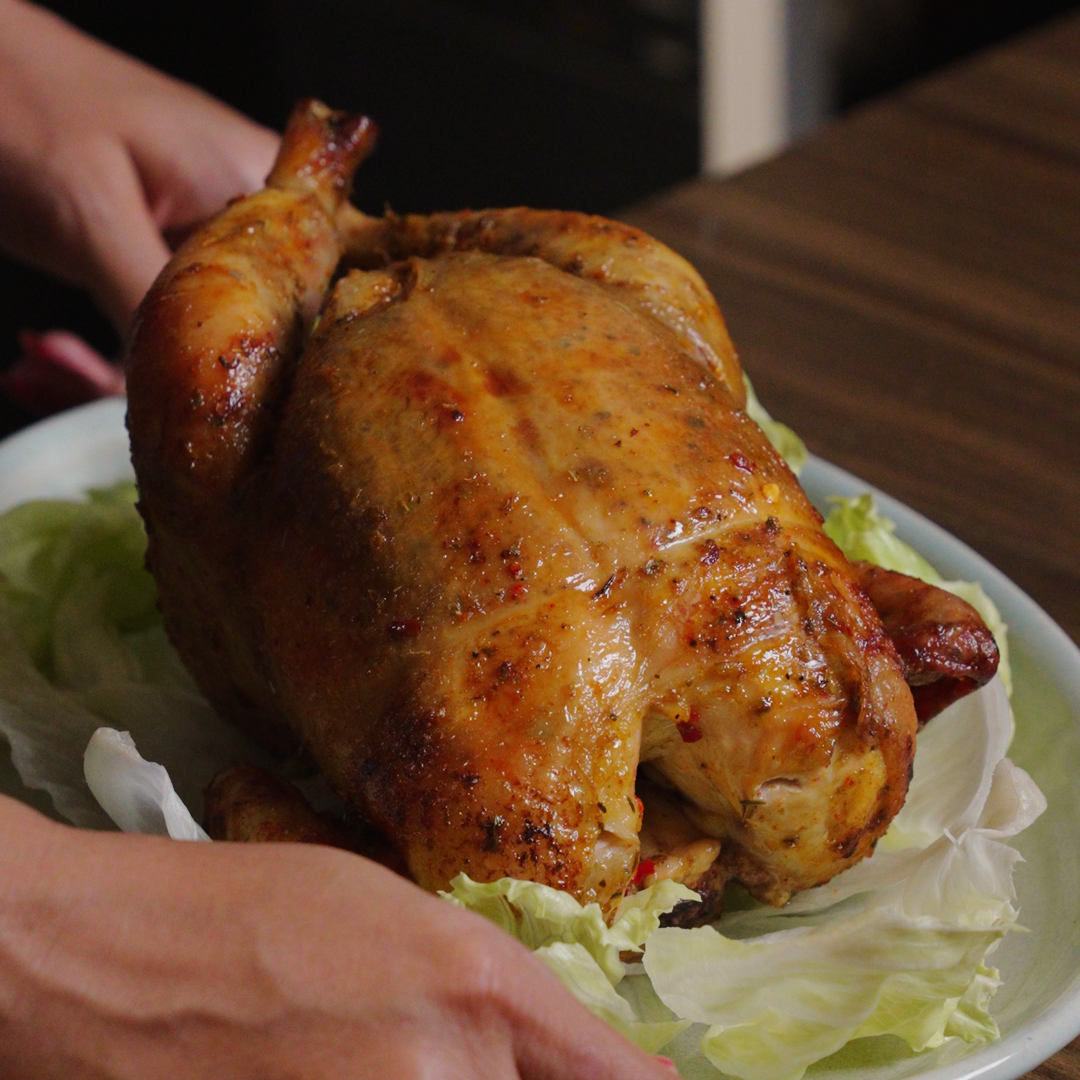
Crispy outside, juicy inside, with a spicy-sweet glaze finish – this rotisserie chicken delivers deep golden colour, red highlights, and a glossy, finger-licking crust. Perfect for OTG rotisserie setups.
Ingredients
- Whole chicken (skin-on)1 (1–1.2 kg)
- Garlic (very finely crushed/paste)2 tbsp
- Red chilli powder1 tbsp
- Kashmiri chilli powder1 tbsp
- Black pepper1 tsp
- Salt (for base paste)to taste
- Lemon juice1 tbsp
- Oil (for base paste)1 tbsp
- Salt (for outside)to taste
- Light chilli powder (for outside)as needed
- Oil (for outside)1 tsp
- Butter (cubes)2 tbsp
- Garlic cloves (crushed)5–6
- Lemon wedges1–2
- Honey2 tbsp
- Butter (melted)2 tbsp
- Garlic (very fine)1 tsp
- Chilli flakes / powder1 tsp
- Salt (pinch for baste)pinch
- Lemon juice (few drops)few drops
Instructions
- Dry the Chicken (Don’t Skip)• Pat chicken completely dry with paper towels.
• Keep uncovered in the fridge for 6–12 hours. If short on time, even 2–3 hours helps. This step is essential for crispy skin. - Apply Flavour (Smart Way)Under the skin:
• Gently loosen skin over breast and thighs.
• Apply most of the garlic‑red chilli paste inside.
Outside:
• Light rub of remaining paste or simply rub with salt, light chilli powder, and 1 tsp oil. Keep outside light to avoid “wetness” during roasting. - Rest• Keep chicken outside the fridge for 30–45 minutes before cooking. (Not longer, and not overnight again.)
- Stuff• Inside the cavity: place butter cubes, crushed garlic cloves, and lemon wedges. This melts while rotating, keeping meat juicy.
- Fix on Rotisserie• Insert the rotisserie rod properly through the chicken.
• Tighten the forks from both sides to secure.
• Tie legs if loose.
• Check balance — very important for even rotation. - Cooking• Set OTG to 180°C, rotisserie ON.
• Place a drip tray with water underneath.
• Cook for 45–60 minutes, depending on chicken size. - Baste (The Magic)• Start basting after 25–30 minutes, when chicken starts drying and tightening.
• Brush lightly with honey‑butter baste mixture.
• Repeat every 8–10 minutes. Do not overload — too much baste will make skin soft. - Final Colour & Crisp• For the last 5–7 minutes, increase heat to 200–210°C or switch top rod ON.
• Apply a final baste. You’ll get deep golden colour, red highlights, and a glossy finish. - Rest (Very Important)• Remove from rotisserie and let chicken rest for 10 minutes before carving. This keeps the juices inside.
- Serve• Sprinkle with salt and chilli flakes, squeeze lemon over the top.
• Cut to show the juicy interior, shiny skin, and crisp texture.
Chef’s Notes & Tips
Patting dry and leaving uncovered in the fridge is non‑negotiable for crispy skin. Even a few hours makes a difference.
Light brushing at intervals gives a glossy glaze without turning the skin soggy. Over‑basting will prevent crispiness.
Properly balanced chicken ensures even cooking and prevents uneven browning. Test by spinning with your hand before inserting.
Resting allows juices to redistribute. Cutting immediately will make the chicken dry.
Video Tutorial
Watch step-by-step on Instagram
Tag: @calcuttakitchen.in
Equipment Needed


Rotisserie Chicken
Crispy outside, juicy inside, with a spicy-sweet glaze finish – this rotisserie chicken delivers deep golden colour, red highlights, and a glossy, finger-licking crust. Perfect for OTG rotisserie setups.
Ingredients
- Whole chicken (skin-on)1 (1–1.2 kg)
- Garlic (very finely crushed/paste)2 tbsp
- Red chilli powder1 tbsp
- Kashmiri chilli powder1 tbsp
- Black pepper1 tsp
- Salt (for base paste)to taste
- Lemon juice1 tbsp
- Oil (for base paste)1 tbsp
- Salt (for outside)to taste
- Light chilli powder (for outside)as needed
- Oil (for outside)1 tsp
- Butter (cubes)2 tbsp
- Garlic cloves (crushed)5–6
- Lemon wedges1–2
- Honey2 tbsp
- Butter (melted)2 tbsp
- Garlic (very fine)1 tsp
- Chilli flakes / powder1 tsp
- Salt (pinch for baste)pinch
- Lemon juice (few drops)few drops
Instructions
- Dry the Chicken (Don’t Skip)• Pat chicken completely dry with paper towels.
• Keep uncovered in the fridge for 6–12 hours. If short on time, even 2–3 hours helps. This step is essential for crispy skin. - Apply Flavour (Smart Way)Under the skin:
• Gently loosen skin over breast and thighs.
• Apply most of the garlic‑red chilli paste inside.
Outside:
• Light rub of remaining paste or simply rub with salt, light chilli powder, and 1 tsp oil. Keep outside light to avoid “wetness” during roasting. - Rest• Keep chicken outside the fridge for 30–45 minutes before cooking. (Not longer, and not overnight again.)
- Stuff• Inside the cavity: place butter cubes, crushed garlic cloves, and lemon wedges. This melts while rotating, keeping meat juicy.
- Fix on Rotisserie• Insert the rotisserie rod properly through the chicken.
• Tighten the forks from both sides to secure.
• Tie legs if loose.
• Check balance — very important for even rotation. - Cooking• Set OTG to 180°C, rotisserie ON.
• Place a drip tray with water underneath.
• Cook for 45–60 minutes, depending on chicken size. - Baste (The Magic)• Start basting after 25–30 minutes, when chicken starts drying and tightening.
• Brush lightly with honey‑butter baste mixture.
• Repeat every 8–10 minutes. Do not overload — too much baste will make skin soft. - Final Colour & Crisp• For the last 5–7 minutes, increase heat to 200–210°C or switch top rod ON.
• Apply a final baste. You’ll get deep golden colour, red highlights, and a glossy finish. - Rest (Very Important)• Remove from rotisserie and let chicken rest for 10 minutes before carving. This keeps the juices inside.
- Serve• Sprinkle with salt and chilli flakes, squeeze lemon over the top.
• Cut to show the juicy interior, shiny skin, and crisp texture.
Chef’s Notes & Tips
Patting dry and leaving uncovered in the fridge is non‑negotiable for crispy skin. Even a few hours makes a difference.
Light brushing at intervals gives a glossy glaze without turning the skin soggy. Over‑basting will prevent crispiness.
Properly balanced chicken ensures even cooking and prevents uneven browning. Test by spinning with your hand before inserting.
Resting allows juices to redistribute. Cutting immediately will make the chicken dry.
Video Tutorial
Watch step-by-step on Instagram
Tag: @calcuttakitchen.in